Arquivo anual 26 de junho de 2017

porplague70

How To Install and Configure ownCloud on CentOS 7

Introduction

ownCloud is a file sharing server that permits you to store your personal content, like documents and pictures, in a centralized location, much like Dropbox. The difference with ownCloud is that it is free and open-source, which allows anyone to use and examine it. It also returns the control and security of your sensitive data back to you, thus eliminating the utilization of a third-party cloud hosting service.

In this tutorial, we will install and configure an ownCloud instance on a CentOS 7 server.

Prerequisites

In order to complete the steps in this guide, you will need the following:

  • A sudo user on your server: You can create a user with sudo privileges by following the CentOS 7 initial server setup guide.
  • A LAMP stack: ownCloud requires a web server, a database, and PHP to function properly. Setting up a LAMP stack (Linux, Apache, MySQL, and PHP) server fulfills all of these requirements. Follow this guide to install and configure this software.
    • To take full advantage of all the features that ownCloud has to offer, make sure to install the following PHP modules: php-gd, php-intl, php-mbstring, php-process, and php-xml.
  • An SSL certificate: How you set this up depends on whether or not you have a domain name that resolves to your server.
    • If you have a domain name… the easiest way to secure your site is with Let’s Encrypt, which provides free, trusted certificates. Follow the Let’s Encrypt guide for Apache to set this up.
    • If you do not have a domain… and you are just using this configuration for testing or personal use, you can use a self-signed certificate instead. This provides the same type of encryption, but without the domain validation. Follow the self-signed SSL guide for Apache to get set up.

Step 1 – Installing ownCloud

The ownCloud server package does not exist within the default repositories for CentOS. However, ownCloud maintains a dedicated repository for the distro.

To begin, import their release key with the rpm command. The key authorizes the package manager yumto trust the repository.

  • sudo rpm –import https://download.owncloud.org/download/repositories/stable/CentOS_7/repodata/repomd.xml.key

Next, use the curl command to download the ownCloud repository file:

  • sudo curl -L https://download.owncloud.org/download/repositories/stable/CentOS_7/ce:stable.repo -o /etc/yum.repos.d/ownCloud.repo

After adding the new file, use the clean command to make yum aware of the change:

  • sudo yum clean expire-cache
Output
Loaded plugins: fastestmirror
Cleaning repos: base ce_stable extras updates
6 metadata files removed

Finally, perform the installation of ownCloud using the yum utility and the install command:

  • sudo yum install owncloud

When prompted with Is this ok [y/d/N]: message, type Y and press the ENTER key to authorize the installation.

Output
. . .
Installed:
  owncloud.noarch 0:9.1.1-1.2                                                                                               

Dependency Installed:
  libX11.x86_64 0:1.6.3-2.el7              libX11-common.noarch 0:1.6.3-2.el7      libXau.x86_64 0:1.0.8-2.1.el7            
  libXpm.x86_64 0:3.5.11-3.el7             libpng.x86_64 2:1.5.13-7.el7_2          libxcb.x86_64 0:1.11-4.el7               
  libxslt.x86_64 0:1.1.28-5.el7            owncloud-deps-php5.noarch 0:9.1.1-1.2   owncloud-files.noarch 0:9.1.1-1.2        
  php-gd.x86_64 0:5.4.16-36.3.el7_2        php-ldap.x86_64 0:5.4.16-36.3.el7_2     php-mbstring.x86_64 0:5.4.16-36.3.el7_2  
  php-process.x86_64 0:5.4.16-36.3.el7_2   php-xml.x86_64 0:5.4.16-36.3.el7_2      t1lib.x86_64 0:5.1.2-14.el7              

Complete!

With the ownCloud server installed, we will move on to setting up a database for it to use.

Step 2 – Creating a MySQL Database

To get started, log into MySQL with the administrative account:

  • mysql -u root -p

Enter the password you set for the MySQL root user when you installed the database server.

ownCloud requires a separate database for storing administrative data. While you can call this database whatever you prefer, we decided on the name owncloud to keep things simple.

  • CREATE DATABASE owncloud;

Note: Every MySQL statement must end with a semi-colon (;). Be sure to check that this is present if you are experiencing an issue.

Next, create a separate MySQL user account that will interact with the newly created database. Creating one-function databases and accounts is a good idea from a management and security standpoint. As with the naming of the database, choose a username that you prefer. We elected to go with the name owncloud in this guide.

  • GRANT ALL ON owncloud.* to ‘owncloud’@’localhost’ IDENTIFIED BY ‘set_database_password‘;

Warning: Be sure to put an actual password where the command states: set_database_password

With the user assigned access to the database, perform the flush-privileges operation to ensure that the running instance of MySQL knows about the recent privilege assignment:

  • FLUSH PRIVILEGES;

This concludes the configuration of MySQL, therefore we will quit the session by typing:

  • exit

With the ownCloud server installed and the database set up, we are ready to turn our attention to configuring the ownCloud application.

Step 3 – Configuring ownCloud

To access the ownCloud web interface, open a web browser and navigate to the following address:

https://server_domain_or_IP/owncloud

If a self-signed certificate is being used, you will likely be presented with a warning because the certificate is not signed by one of your browser’s trusted authorities. This is expected and normal. We are only interested in the encryption aspect of the certificate, not the third-party validation of our host’s authenticity. Click the appropriate button or link to proceed to the ownCloud setup page.

You should see something like this:
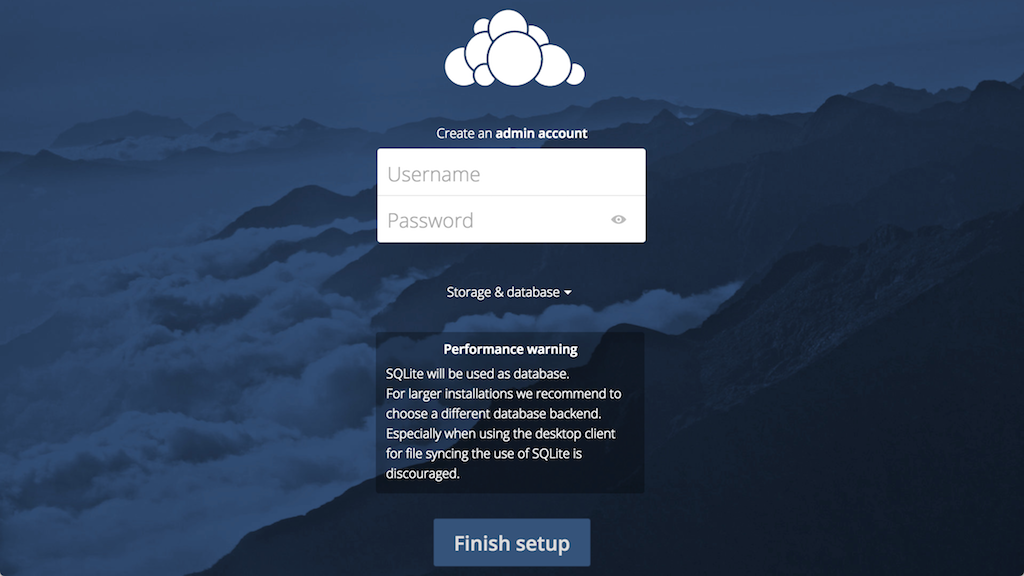
ownCloud Admin Page

Create an admin account by choosing a username and a password. For security purposes it is not recommended to use something like “admin” for the username.
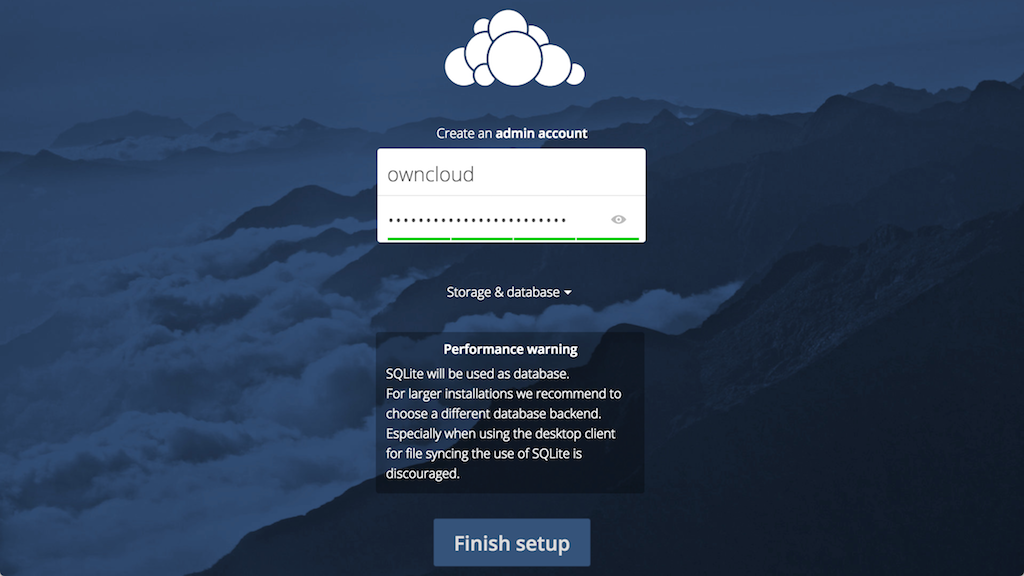
ownCloud Admin Account

Before clicking the Finish setup button, click on the Storage & database link:
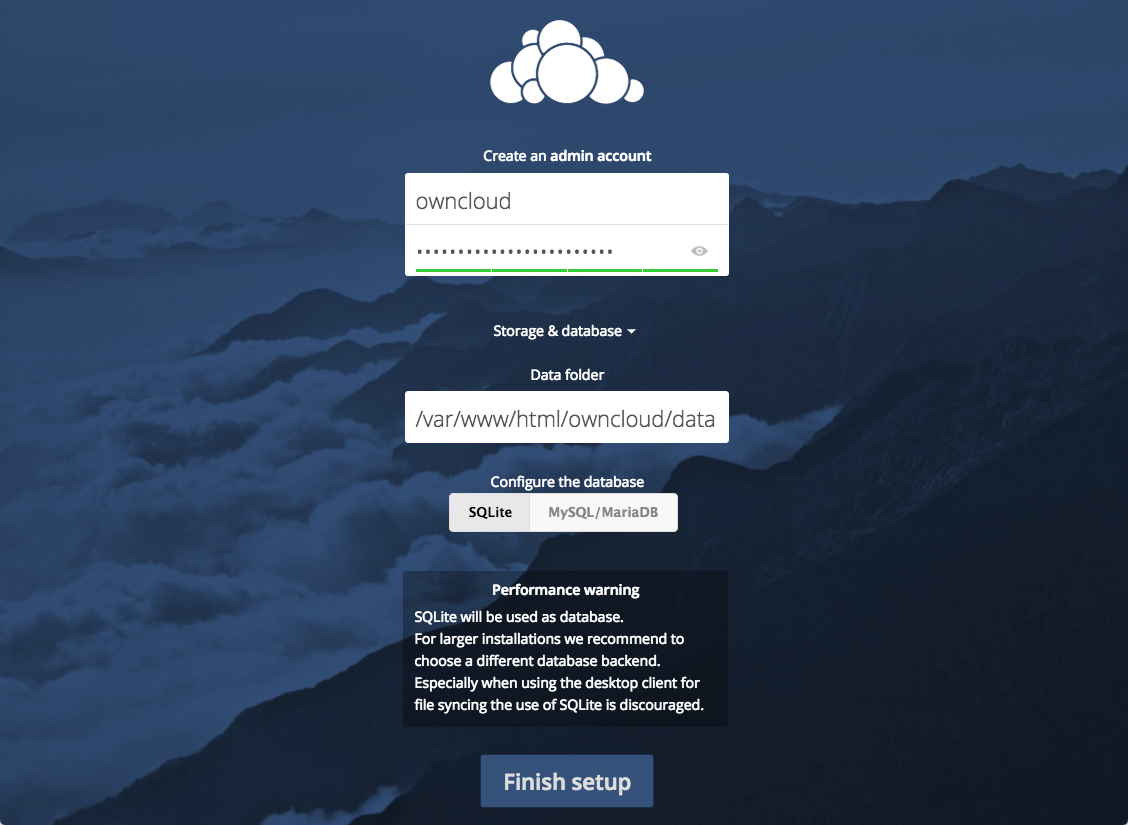
ownCloud Database Configure

Leave the Data folder setting as-is and click the MySQL/MariaDB button in the Configure the database section.
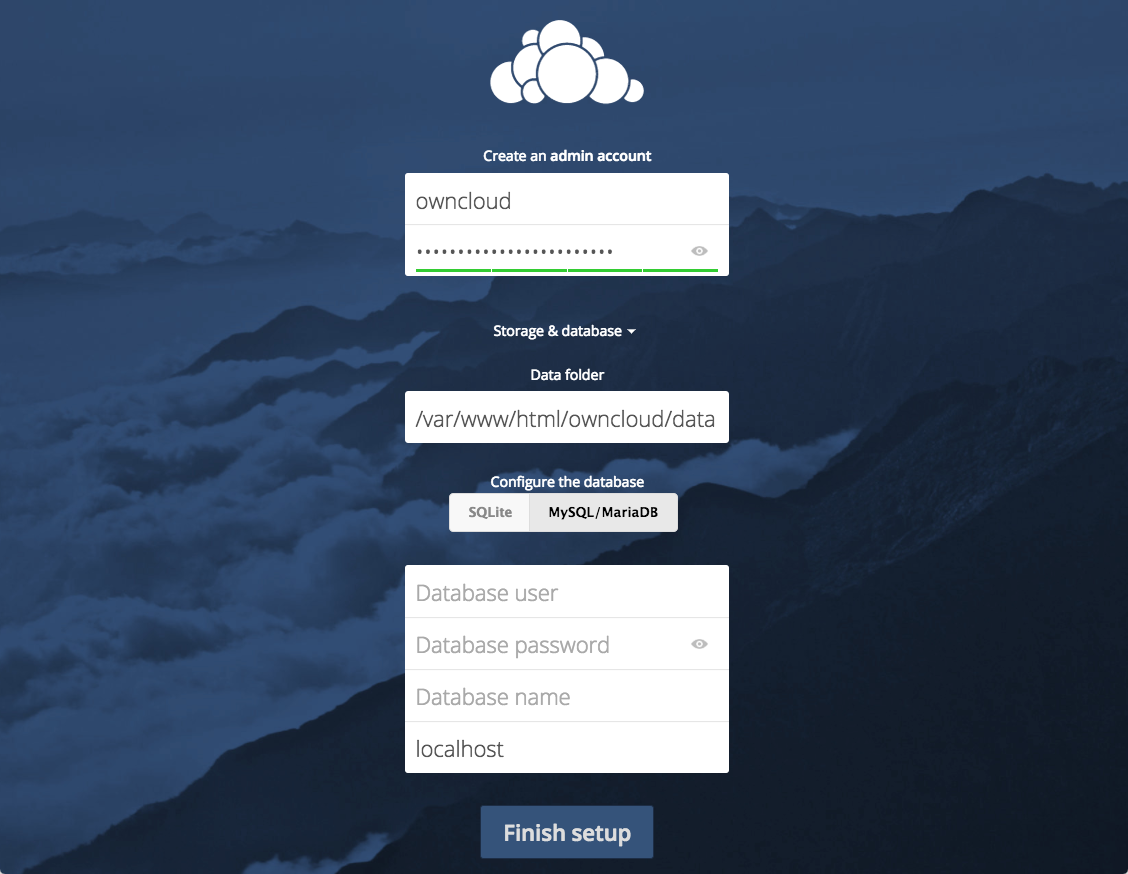
ownCloud Database Settings

Enter the database information that you configured in the previous step. Below is an example, which matches the database credentials that we used in this guide:
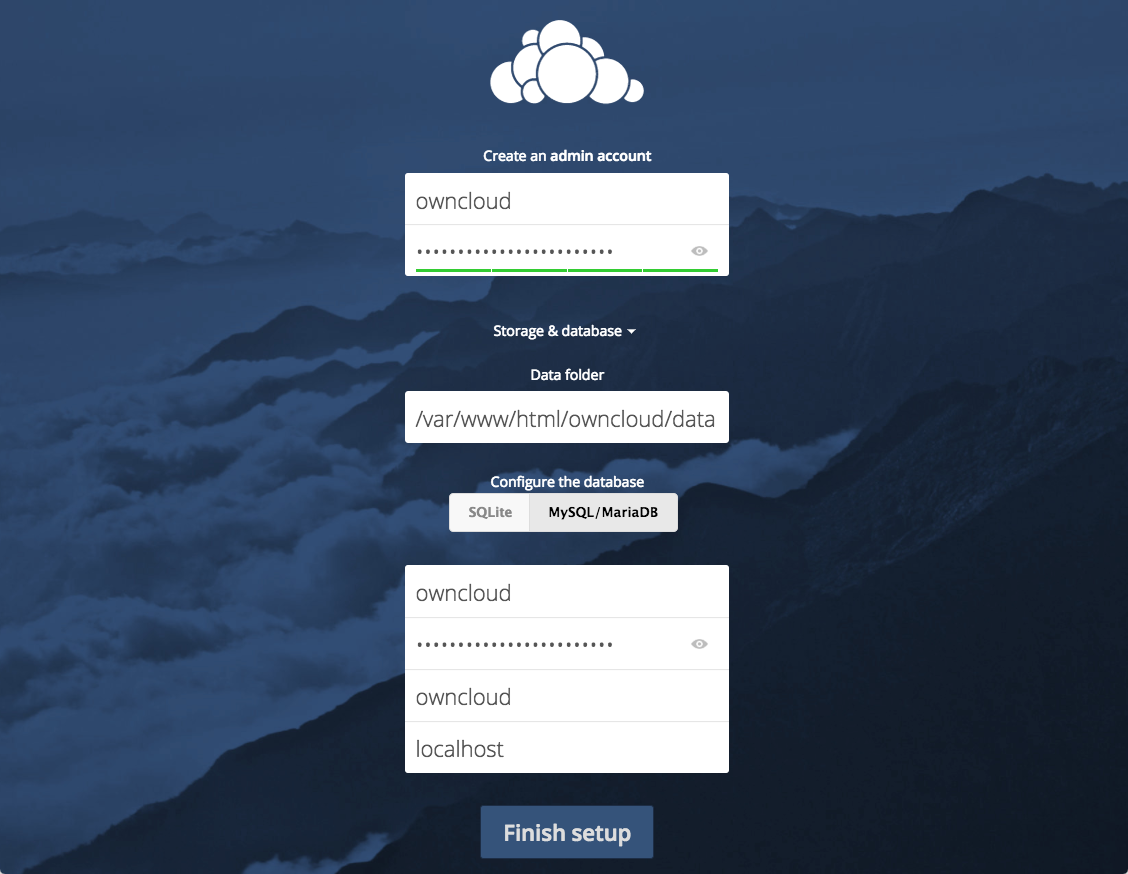
ownCloud Database Example

Click the Finish setup button to sign into ownCloud. A safe home for all your data splash screen should appear:
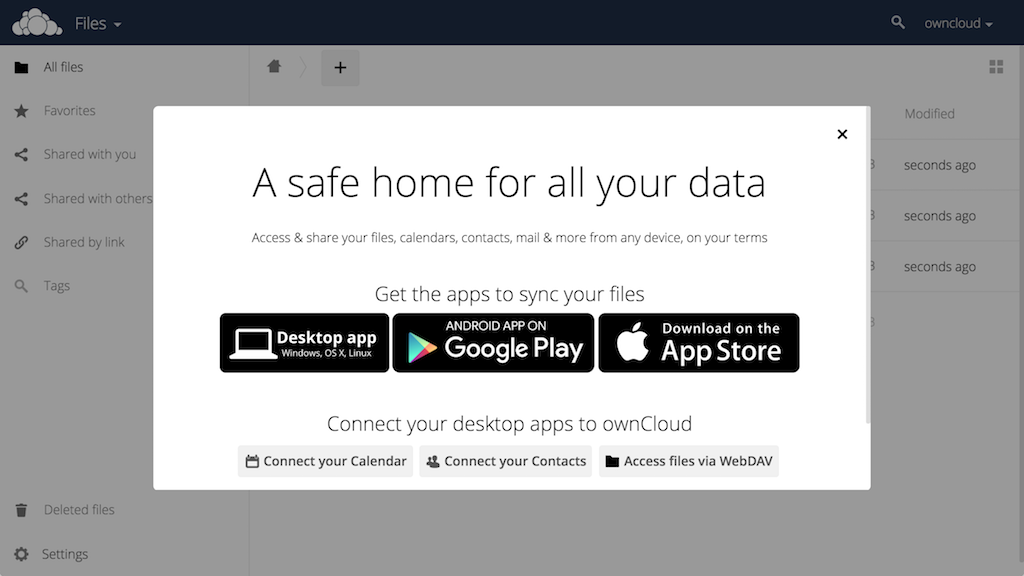
ownCloud Welcome Screen

Click the x in the top-right corner of the splash screen to access the main interface:
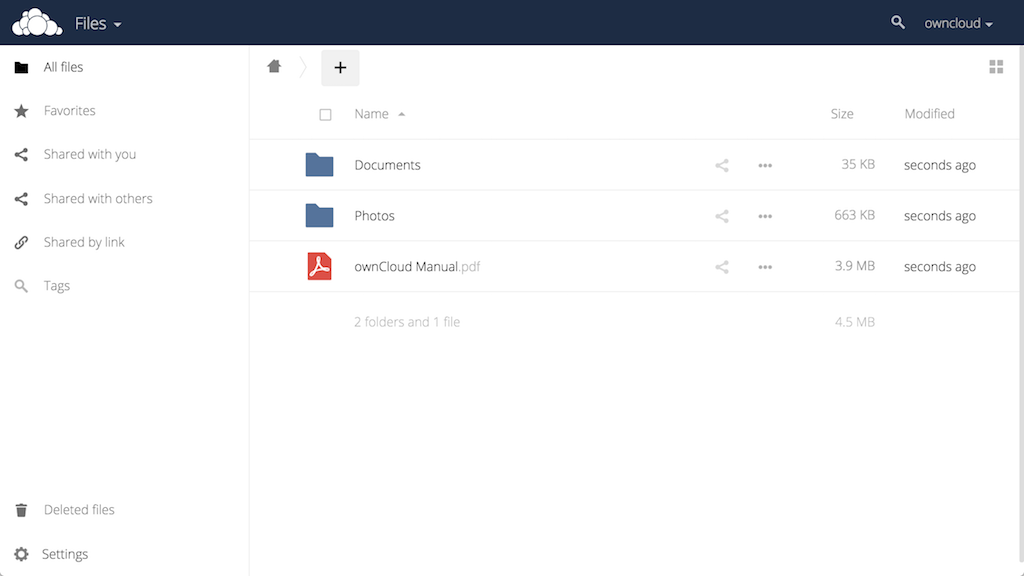
ownCloud Main Interface

Here, you can create or upload files to your personal cloud.

porplague70

Bash Command Line Examples.

After having spent years on unix systems, shell scripting still continues to elude me. Hence these reminders.

contents
  1. For Loops over lists
  2. While loop
  3. The Absolute Current Working Directory
  4. Getting a line count on various directories

For Loops over lists

  • To add a bunch of files to subversion
for f in Button.phi Buttons.phi Cells.phi ; do svn add $f; done
for f in `ls -l *.phi`; do svn add $f; done
  • A more complete sample
ls *.xml
file1.xml  file2.xml  file3.xml

ls *.xml > list

for i in `cat list`; do cp "$i" "$i".bak ; done

ls *.xml*
file1.xml  file1.xml.bak  file2.xml  file2.xml.bak  file3.xml  file3.xml.bak
  • To clear emails to [email protected] out of my mail queue after inspecting the affected files
cd /path/to/mailqueue
ls -l `grep -l '[email protected]' \`find . -type f\``
rm -f `grep -l '[email protected]' \`find . -type f\``

Note: Be sure to run the ls before the rm.

  • A little awking. PIDs of all processes using alsa. Grabs the 2nd column out of a listing.
lsof | grep alsa | awk '{print $2}'
  • This alias produces a sorted list of services and the ports they’re listening on.
alias ports='sudo /usr/bin/lsof -nPi | grep LIST | awk '\''{printf "%-20s%-5s%-5s%s\n",$1,$5,$7,$8}'\'' | sort | uniq'
  • Running ports would then produce something like this:
cupsd               IPv4 TCP  127.0.0.1:631
master              IPv4 TCP  127.0.0.1:25
mysqld              IPv4 TCP  127.0.0.1:3306
portmap             IPv4 TCP  *:111
rpc.mount           IPv4 TCP  *:657
rpc.statd           IPv4 TCP  *:894
smbd                IPv4 TCP  *:139
smbd                IPv4 TCP  *:445
sshd                IPv6 TCP  *:22

While loop

  • Keeping my mail inbox from overflowing while running email stress tests
cd /path/to/maildir/new
while true; do rm -f *; sleep 5; done

The Absolute Current Working Directory

  • AKA Getting the realpath of a location.
  • This is really more useful in scripts, but here goes:
MYCWD=`dirname \`readlink -e $0\``

Getting a line count on various directories

T=0; \
for f in dir1 dir3 dir10; do \
  N=0; \
 for n in `find $f -type f -exec wc -l {} \; | awk '{print $1}'`; do\
    N=$(‎( $M + $n )); \
  done; \
  T=$(‎( $T + $N)); \
  echo $N - $f; \
done; \
echo $T - Total

4686 - dir1
4894 - dir3
981037 - dir10
990617 - Total
porplague70

Visualizando o conteúdo das mensagens fila postfix.

Para visualizar o conteúdo de uma mensagem, utilizamos o comando “postcat” como neste exemplo:

postcat -vq MESSAGEID

O exemplo da mensagem acima, seria:

postcat -vq 96C9D1D1620

A saída do comando acima seria similar a esta:

[email protected]:~# postcat -vq D576011ED32
postcat: name_mask: all
postcat: inet_addr_local: configured 2 IPv4 addresses
postcat: inet_addr_local: configured 2 IPv6 addresses
*** ENVELOPE RECORDS deferred/D/D576011ED32 ***
message_size: 705 713 1 0 705
message_arrival_time: Tue Nov 24 19:30:25 2015
create_time: Tue Nov 24 19:30:25 2015
named_attribute: log_ident=D576011ED32

…….

porplague70

Removendo comentários (#) dos arquivos de configuração

REMOVENDO COMENTÁRIOS (#) DOS ARQUIVOS DE CONFIGURAÇÃO

Já teve uma caso de precisar verificar somente as linhas que não estão comentadas no seu arquivo de configuração? Me encontrei com um caso assim, ao pegar um arquivo.conf que eu já usava no Squid e implementar em uma nova máquina.

OBS: Somente para teste. Copie o arquivo para a pasta teste. Exemplo:

# cp /etc/squid/squid.conf /tmp/squid.conf-teste
# egrep -v “^#|^$” /tmp/squid.conf-teste > /tmp/squid.conf-teste2

Entre no arquivo com VI e irá perceber que as linhas comentadas não estão mais presentes no arquivo.

porplague70

INSTALEI O FREEBSD E ESQUECI A SENHA DE ROOT

Para resolver não precisamos instalar o sistema FreeBSD de novo. Siga estes passos:

Quando aparecer a tela de boot com o Beastie na tela, selecione a opção 4, “Boot FreeBSD in single user mode”. Em determinado momento esta ação vai lhe pedir um shell, que por padrão é “/bin/sh”, apenas pressione Enter.

Checando partições:

# fsck -y

Agora digite:

# mount -a

Mudando a senha:

# passwd

Digite a senha de root nova e dê um reboot!

porplague70

atualizar pfsense via console.

na conlose digitar:

pfSense-upgrade -4


porplague70

Gateway Monitoring Daemon não funcionando no pfSense 2.3 – dpinger

Pessoal,

Para quem estiver tendo problemas com o “Gateway Monitoring Daemon” no pfSense 2.3, ficando sempre com o status Down, basta seguir o passo a seguir:

Motivo:

Alguns modens/roteadores descartam ICMP com 0 byte, e como o dpinger utiliza 0 byte como default, será necessário alterar o valor do parâmetro “data payload”, que estipula quatos bytes será enviado no pacote ICMP para checagem do Gateway.

Solução:

1- Vá em System -> Routing
2- Clique para editar o Gateway
3- Altere o campo “Data Payload” de 0 para 1
4- Salve e aplique a modificação
5- Reinicie o dpinger

porplague70

link downloads blacklist squidguard

http://www.shallalist.de/Downloads/shallalist.tar.gz

porplague70

[TUTORIAL] bloqueando https facebook / youtube

1° vamos pega a listas dos host
Youtube

Code: [Select]

208.65.152.0/22
213.146.171.0/24
208.117.224.0/15
64.15.114.0/24
64.15.120.0/24
64.15.125.0/24
82.129.37.0/24
74.125.234.0/24
108.59.8.0/24
208.43.0.0/16
63.131.144.0/24
107.20.132.0/24
23.33.186.0/24
64.208.138.0/24
54.225.188.0/24
54.243.58.0/24

Facebook

Code: [Select]

31.13.24.0/21
31.13.64.0/19
31.13.64.0/24
31.13.69.0/24
31.13.70.0/24
31.13.71.0/24
31.13.72.0/24
31.13.73.0/24
31.13.75.0/24
31.13.76.0/24
31.13.77.0/24
31.13.78.0/24
31.13.79.0/24
31.13.80.0/24
66.220.144.0/20
66.220.144.0/21
66.220.149.11/16
66.220.152.0/21
66.220.158.11/16
66.220.159.0/24
69.63.176.0/21
69.63.176.0/24
69.63.184.0/21
69.171.224.0/19
69.171.224.0/20
69.171.224.37/16
69.171.229.11/16
69.171.239.0/24
69.171.240.0/20
69.171.242.11/16
69.171.255.0/24
74.119.76.0/22
173.252.64.0/19
173.252.70.0/24
173.252.96.0/19
204.15.20.0/22

2°- Acessa o pfSense

3°- Acessa guia Firewall -> Aliases

4°- Clicamos em bulk import aliases from list

5°- Preenchendo os dados do Aliases Bulk Import
Alias Name: Nome da alias
Description: Descrição
Aliases to import: IP host

6º-Acesse guia Firewall -> Rules -> Lan

7°- Add new host

8°- Edite os dados como na imagem abaixo, mande salvar

9°- Logo em seguida mande aplicar e teste.

porplague70

ACESSO REMOTO OPEN-SOURCE COM XRDP

recentemente precisei criar um servidor rdp com linux, então recorri ao ubuntu-server com o XRDP.

A instalação do ubuntu-server foi muito simples praticamente avançar, avançar e avançar. Hehe, ta ficando muito fácil as coisas ultimamente, se é que me entendem.

Bom, instalei uma opção gráfica com o LXDE já que é completa e leve:

apt-get install lxde

Depois de reiniciar instalei o xrdp:

apt-get install xrdp

Adicionei o usuário que precisava:

adduser USER

Pronto, foi só desfrutar do servidor de RDP open-source usando o xrdp.

Dica préviamente públicada em meu blog onde compartilho um vídeo também: